Baking Secondary Motion for Games
About the post
Create Baked Physics for Animations
Date
August 12, 2024
Physics can be expensive to render in game and yes we have powerful engines that can handle much more than they used to, but we should still try to create performant assets where possible, things like jiggles on a character, props in the world baked down or things that shouldn’t be simulating where possible.
I wanted to show how in Motionbuilder we can create secondary motion which can be convincing the player that it’s actually physics based and not pre-canned movement. This is important in game development where we can pre-emptively decide what would be “physics based” and not required so we can look at saving the rendering budget by creating custom bones to bake this secondary motion onto, i.e bags, pouches, weapon slots etc… things that would naturally wobble or move when the player or object moves.
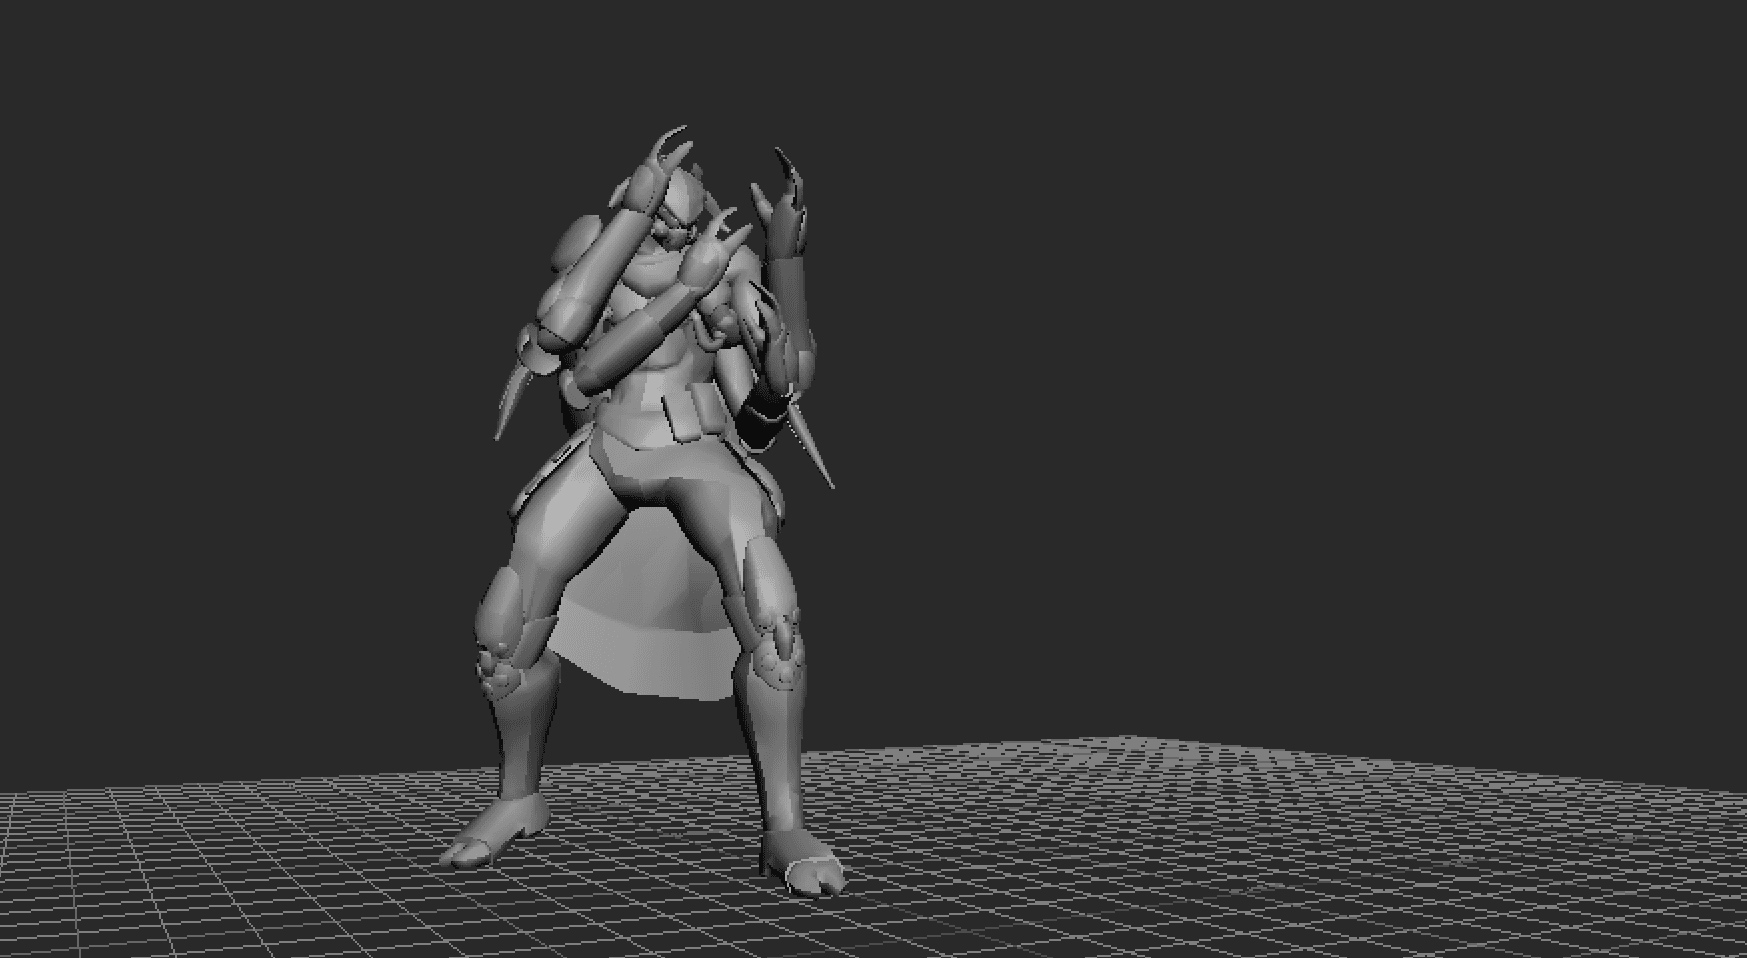
In this first video you can see I have made a simple backpack placeholder with a trusty box. On the left is the original, middle is an overlay so you can see the difference applied and the right this applied motion.
Let's have a look at how this is setup. The first thing you might notice is that each prop has a skeleton node, I do this over Nulls in Motionbuilder as Nulls don't have customizable looks like the Skeleton Node. This makes it easy for anyone who's working on it to see.
Note: the Skeleton Node (for the prop you're working on) should be parented to a skeletal bone that is closest to the movement and placement of that prop.)
So you won't place a hip prop parented to a spine, you should parent that hip prop Skeletal Node bone to that Upper Leg bone … or wherever is closer.

Setup the Relation Constraint
To setup this secondary motion we create a new RELATION constraint and drag the setup Skeleton Node with a box (or other object to reference the prop) parented to that Skeleton Node.
Drag the Skeleton Node to the relation canvas and set it as Receiver. Drag that skeleton node again as a Sender.
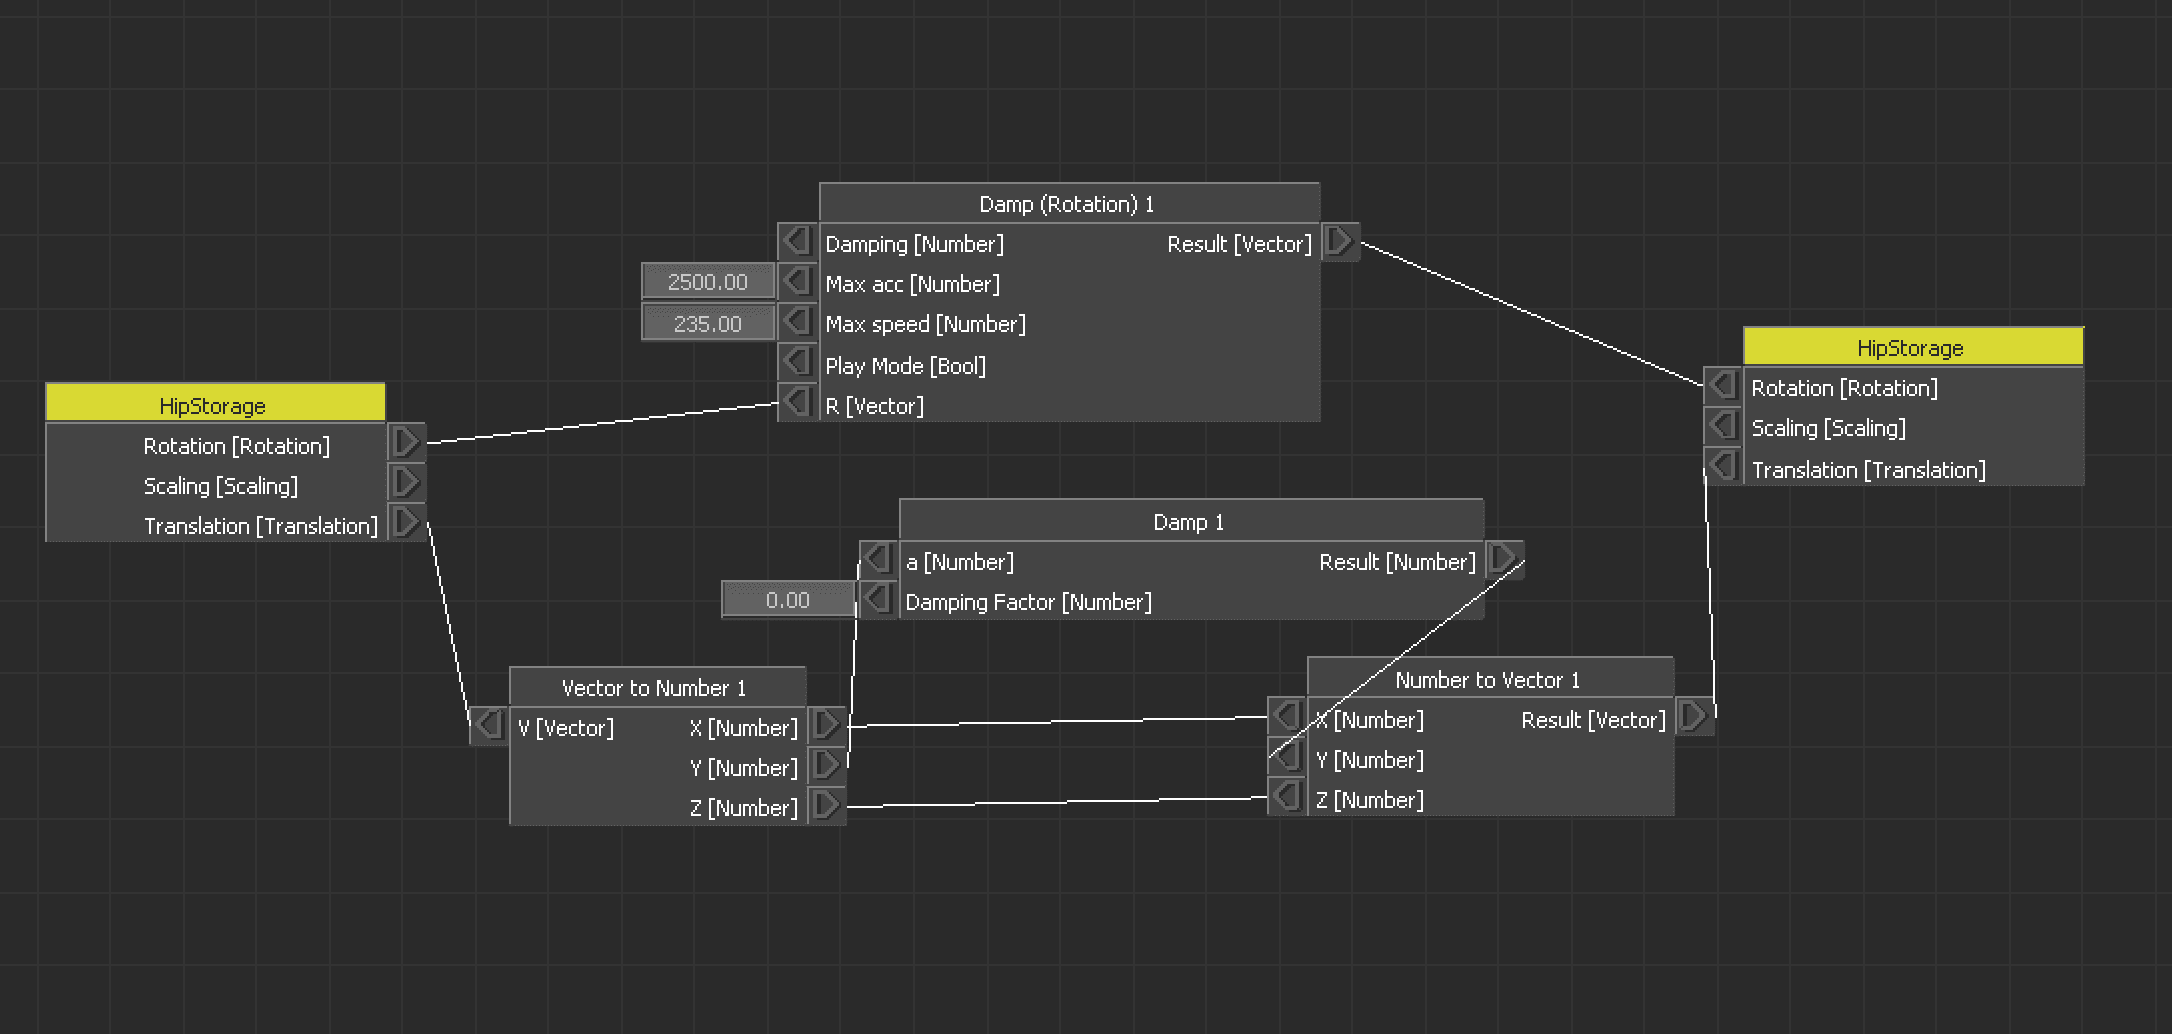
Now we can begin the setup, we achieve this through Damp nodes. There are special nodes for both Rotation and Position as well as Numbers and 3D Damping. We will use Rotation Damp and a Number Damp (you can also use Position Damp, but I only want to effect the Y Axis which is a Number and not a Vector3.
Connect the Rotation Vector Parameter to the R [Vector] slot in the Rotation Damp node and then that Result [Vector] to the Rotation Receiver Node's Input Slot.
You can add a Number Damp Node to the Relation Canvas as well as we will do the same for the Translation Vector.
You'll notice that the Vector to Number is split into Numbers so we can individually change those values. You can actually skip those nodes creation by just connecting the Translation Slot from the Sender to the Damp Number Input and the Result [Number] to the input of the Translation Slot of the Receiver. This will connect it automatically to the X [Number] slot but for our case the hip slot should move up and down and not back and forward, so I disconnect (right mouse click for disconnect option) and then connect to the Y Axis. Repeat for the other side.
Now we can set the values of the Damping Node. I have played around with values for a while, but remember these values also depend on the scale of your scene and rig. For testing purposes you can always play the scene in Loop and then make adjustments live.
To set values on nodes, you can right mouse click on a slot entry and then click Set Value. Now you can enter values that are required, once enter you'll see the scene start updating with these nice secondary movements.
The inertia from the backpack in this video is pretty noticeable and provides a nice subtle movement and weight to the punch. On the left you can see the backpack is completely static and doesn't provide much weight to the punch. With the motion applied you can see the weight that trails the backpack on the bottom - the same goes for the pouch on the right upper leg too.
Baking the Skeletal Node with the Motion
Now that we have the motion we want, a nice secondary layer of motion let's look at how to bake this motion to the Skeletal Node so we can use it in Engine.
Some considerations first.
It's important to note that adding this Skeletal Node to the current Skeletal Tree of your rig will break it when importing it back into your engine, this is because your other motions don't have this custom bone we made in it and the Engine (usually) will display an error that the bone count is wrong. You CAN fix this pre-emptively.
When you create your rig to begin with, add IK and Prop nodes so that they are present in the tree to begin with. If you plan to use weapons in each hand and have weapons on display on your back or for any other reason - count how many props you have and then create double that amount for future use in case you need those bones. Otherwise it will be a lot of work to add these bones in to the rig afterwards and it's best to lock those decisions down before hand.
Make sure you read the important considerations before continuing...
Okay, let's continue.
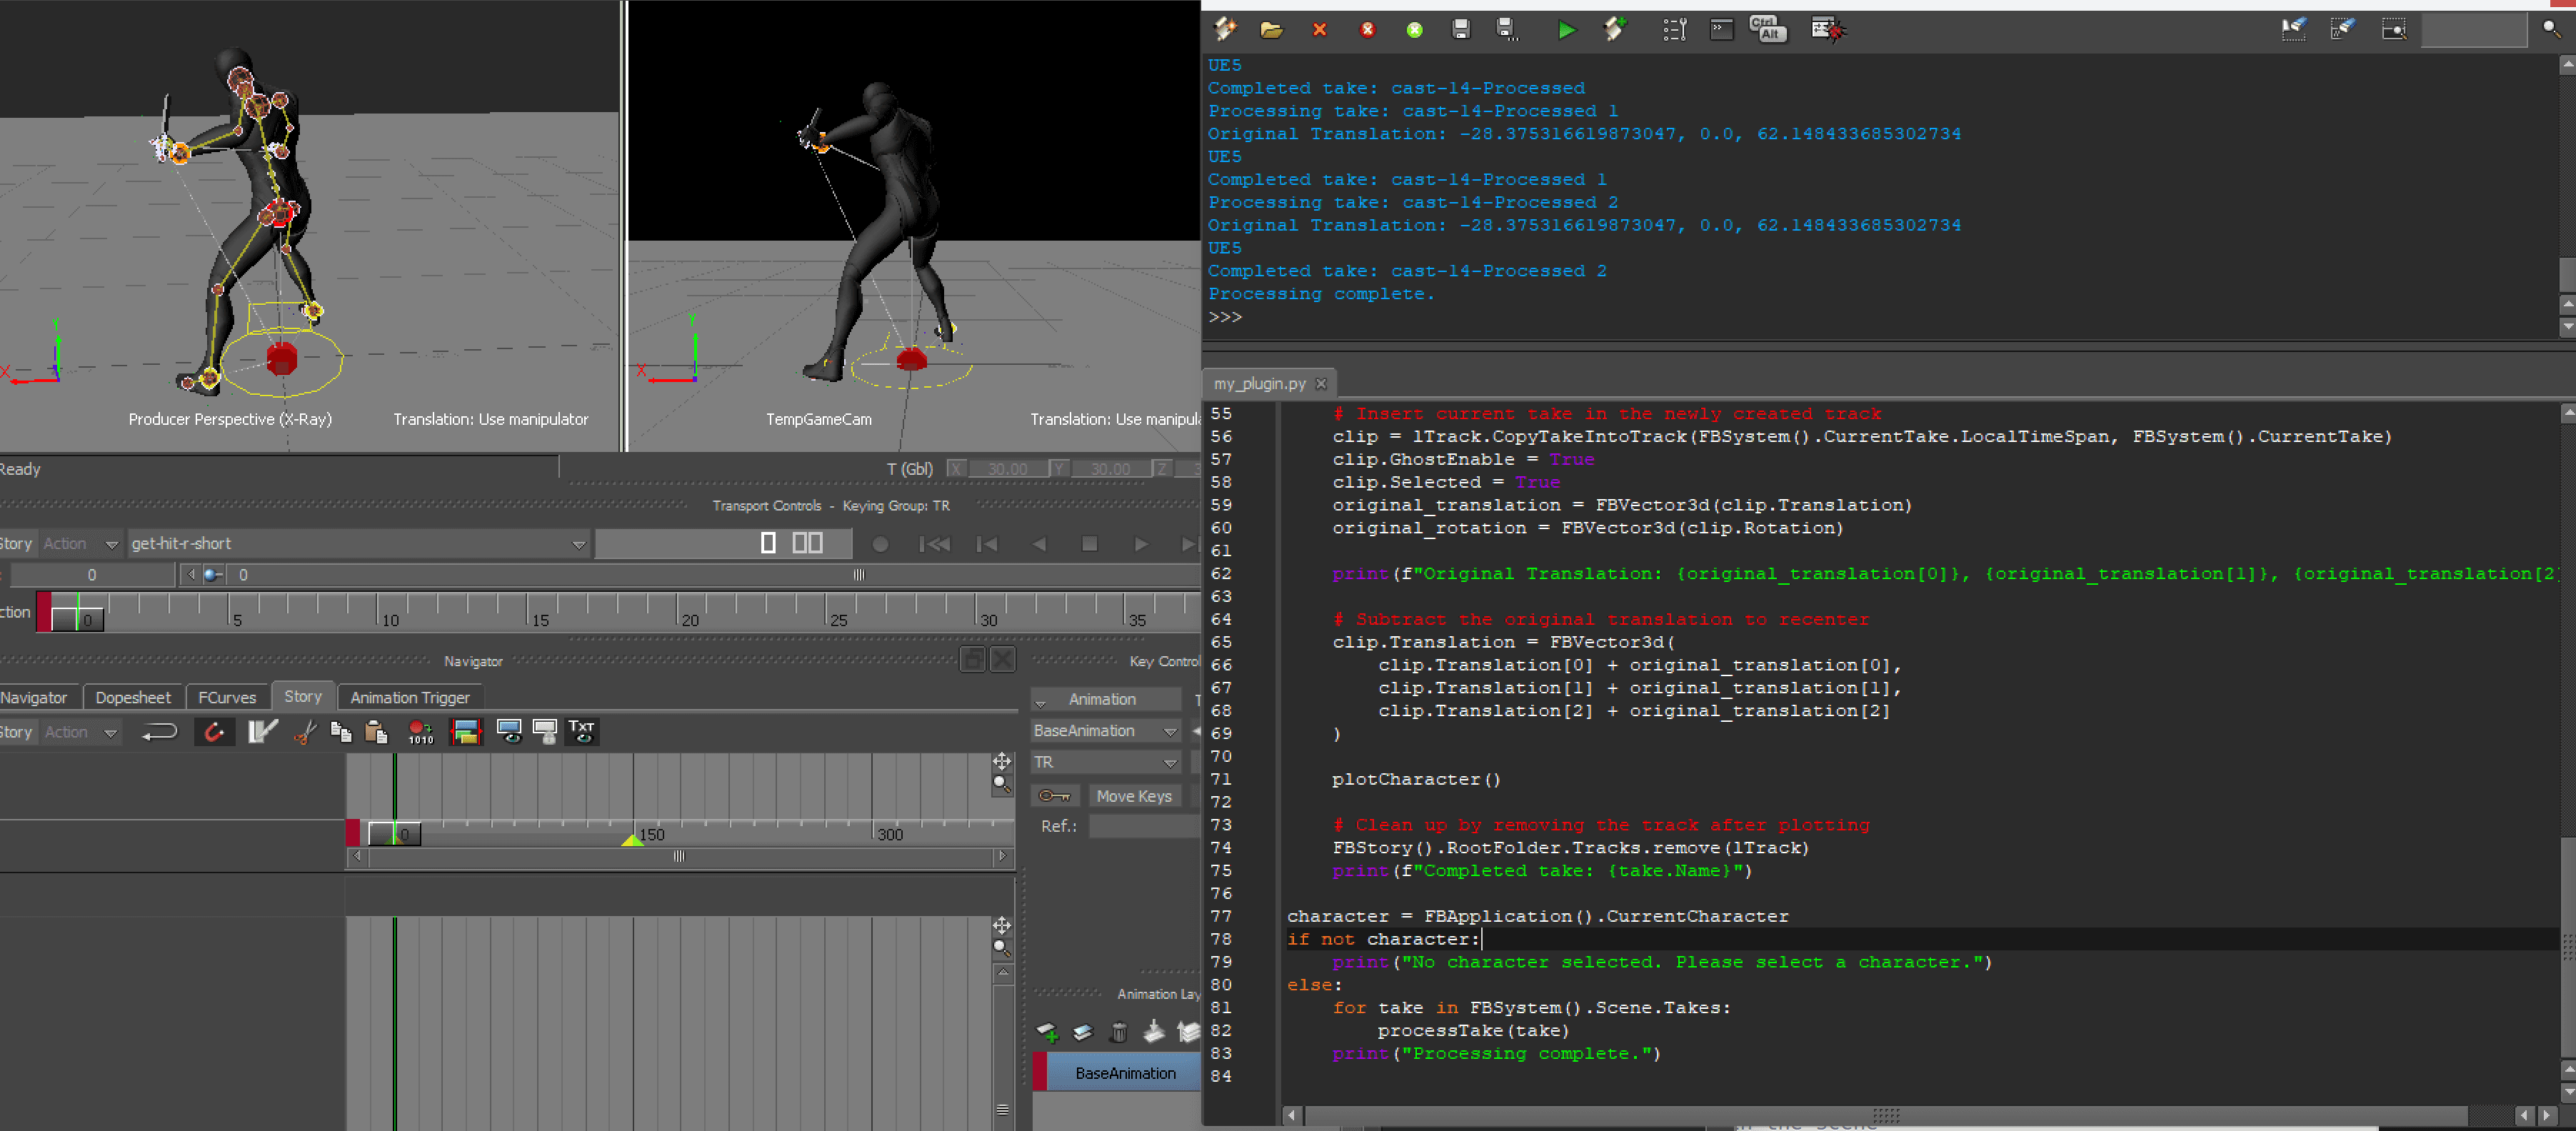
From these video you can see we bake the Skeletal Node (Sword-Node) down but selecting it (notice the timeline has no keys yet, it's totally driven by the Relation Constraint).
Click the Animation dropdown under the Key Controls panel, and select Plot Selected (All Properties) this is because we only want to bake the keys for the Sword-Node not the entire take, otherwise every single bone and object will be plotted to the timeline. Sometimes this is handy if you're ready to finalise the scene - I prefer this to baking to Skeleton, that way I can stay in the Control Rig while working.
Now the keys have been plotted to the timeline for the take and it has all our secondary motion applied. You can toggle the Relation constraint to test and see that it works still without the Relation driving it.
In fact if Relation is still active, it will layer another Secondary Motion on top of the Motion already, which in most cases exaggerates the effect and won't look good.
Copy Motion from our Skeletal Node to Main Skeletal Rig Designated Prop Bone
Now we need to move that motion we have created to our main skeleton. There are ways to streamline this in production but for the sake of this tutorial I wanted to make it clear and provide step by step instructions so you can follow along.
But how do we move or connect our bone to this main skeletal bone? Easy!

From our Skeletal Tree for our Rig, you can see we have a Prop bone, we need to connect this bone to copy the motion from the Sword-Node bone we made which currently has the keyframes.
You might ask why don't you just use this Prop bone from the start, well it's easy to mess up and I like to use temp objects until the motion is ready and then apply it to the main skeleton.
We first create a new Relation for the Prop bone and we are simply going to set the Prop as the Receiver and the Sword-Node as the Sender and connect the Rotation and Position vectors directly, no nodes needed in between. You'll see that the prop follows the Sword-Node now, but there's no data. You can then repeat the process of Plotting Selected. Or create a Character Extension to auto plot this as part of the Control Rig. For now let's just use Plot Selected to keep it simple for this tutorial.
Once processed you'll see the Prop bone now has the motion. The Prop bone doesn't have the temp mesh (box) parented to it so you can move it there or leave it and remove the Sword-Node from the Skeletal Tree to keep it clean.
Now you can export to Engine and parent an object to the Prop bone and see the new Secondary Motion with no physics calculations needed. You can also rely on the fact that since it doesn't use physics it won't break in Engine and require more work fixing it - a win win.
I hope you found this article interesting, if you can't see these videos make sure you're reading it from moonjump.com and I'll see you all in the next article.